5 Crucial Steps to Starting Out in Embroidery
It’s time to start making an income from your creativity and your embroidery machine. The following five steps are critical to ultimate business success
FULL STORY

If you are baking a cake and forget to add the eggs, you won’t get the desired results. The same goes for your embroidered orders. Forgetting just one thing could result in the loss of a good customer.
Taking an order properly is the first of many tasks that should be on your to-do list (see “Quality Control Starts Upfront” in the October/November 2015 issue). You also must ensure the garments you receive from your supplier are correct. Check the item numbers, colors and sizes to confirm you have received what you ordered.
Next, verify you are working with the correct design and that any logos, lettering or names are ready to embroider. Not all embroidery is done on the left chest, so also make sure placements are correct. After your machine is threaded with the proper thread colors, you are ready go.
Though good stitching is a major part of quality control, there are other details that can’t be ignored after the machine stops running.
Trimming Time
After you finish a sewout, each item must be trimmed and cleaned up. Some embroiderers disagree, but I think spending extra time trimming can set your business apart from competitors.
Keep the trimmed area about ¼-inch away from the embroidery. Also, cutting the backing (stabilizer) evenly around the embroidery makes it look better on light-colored garments where the backing may show through the fabric.
Also, extra time really pays off when trimming threads between lettering. It can be the difference between a one-time order and repeat orders from a satisfied customer. How can you tell if a garment would be acceptable to a customer? If you would wear your finished garments in public and tell everyone you did the embroidery, then it is ready for your customer.
It only takes a few seconds to clip the extra threads and it makes your work look amazing. That extra time will bring your customers back, and they will rave to others about the great work you do.
During past vacations, my family would be embarrassed when I would inspect shirts from the inside-out at tourist shops. But I did it because I wanted to see which backing the decorator used and how everything was trimmed. I would inspect the embroidery placement to see whether it was correct and if the design was aligned. (I also did screen printing, so I would inspect whether the ink was fully cured or colors were properly aligned.)
The moral of the story? Don’t think an error will go unnoticed; you never know who could be looking at your work.
Topping Cleanup
If you use water-soluble topping, remove all of it before folding and packing. Pull as much off as possible, then dab the leftovers with a damp cloth — one that will not leave a trace of lint — until they are gone. I have found that a small piece of muslin with cold water works really well. It won’t leave lint or color residue because it is a neutral color that won’t bleed.
If you like to spray water to remove the topping, remember that doing so can leave a water mark on the fabric. Let it dry completely before packing the garment. You don’t want your customer to open a box with mold and mildew all over his order.
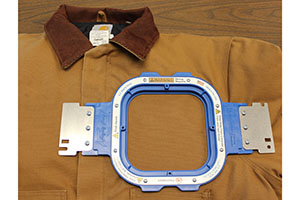
Removing hoop marks is easy with Magic Sizing. You can get this in any grocery store. Just mist the area with the hoop marks and they will disappear in a matter of seconds. Drying only takes a few minutes and it won’t leave a water mark. This adds value to your work and could be something your competition doesn’t take the time to do.
Lettering Tips
When setting up lettering from your downloaded fonts, there are some techniques you can use to make it look better. If letters are spaced too far apart, use the kerning setting in your software. It will allow you to push together or pull apart each letter, making the entire word more presentable.
Another helpful command in lettering software is “pull-comp,” which affects column width. You can increase or decrease the value, and it is important when stitching on soft or stretchy fabrics, as it adds compensation. Each time your needle goes back and forth to make a satin stitch, it pulls the fabric and makes your column look smaller. So your column must be wider before you start stitching to ensure it will be a normal size after stitching is complete.
When your work is done, trimmed and cleaned, folding items and placing them in stacks by size or color also adds value to your work. Nothing will garner more praise from a customer than opening a box that has been packed professionally.
None of these things may seem like part of quality control, but they are. Each item should be regarded as if it were the only one you had to complete that day. Remember, your work is part of you, so make sure it represents you and your shop in the best possible way.
Even the small details matter — before, during and after embroidery. It may seem like a lot to remember, but the results of not checking and rechecking your orders could be devastating to your business.
Connie R. Smith has been in the embroidery industry for more than 30 years and has been an industry speaker and consultant. She also is an award-winning digitizer. For more information or to comment on this article, email Connie at lickatstitch@yahoo.com.
It’s time to start making an income from your creativity and your embroidery machine. The following five steps are critical to ultimate business success
FULL STORYWhile embroidered and woven patches have similarities, there are differences to be aware of when choosing the best one for your particular decorated apparel application.
FULL STORY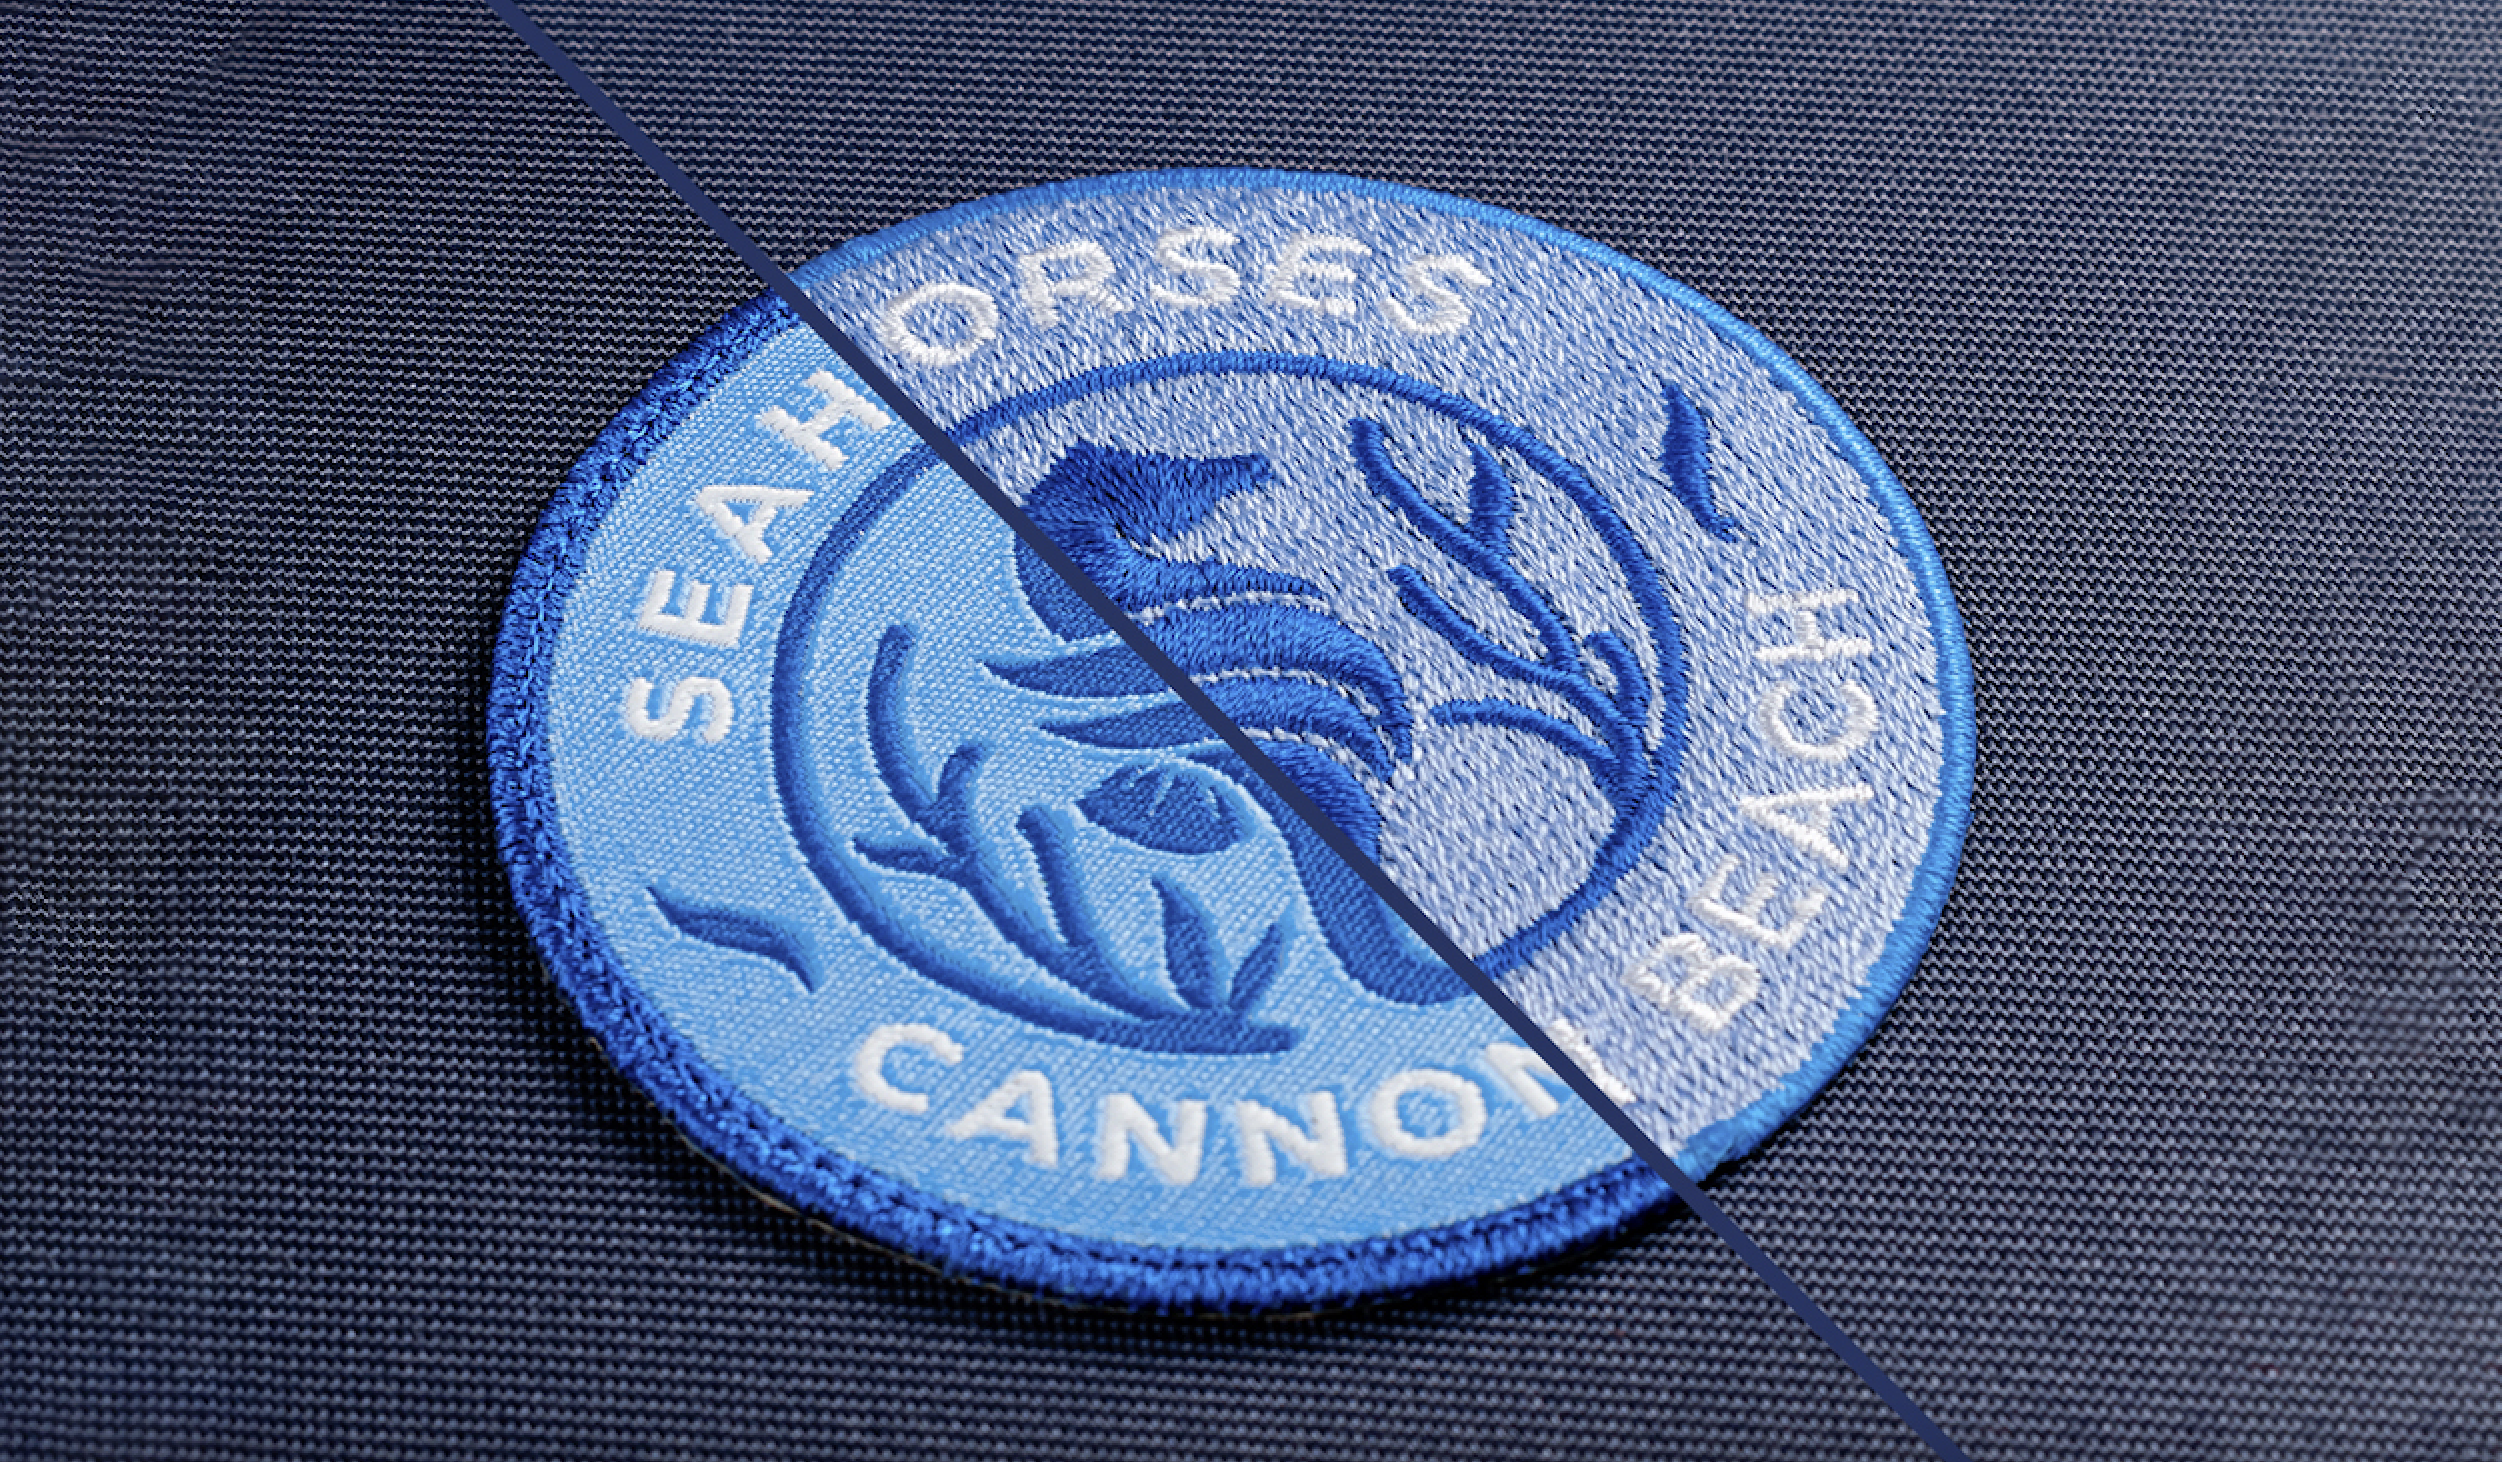
When the weather is warm, savvy embroiderers turn their thoughts to jackets and gear up to make some masterpieces. Wait… what??
FULL STORY